The 2003 Jeep Liberty (KJ) is a capable and versatile SUV, loved for its compact size, off-road potential, and Jeep heritage. While it comes with decent ground clearance from the factory, many owners seek to enhance its capabilities further by installing a lift kit. A 2003 Jeep Liberty Lift Kit is a modification that increases the distance between the vehicle's frame and the axles, resulting in increased ground clearance, larger tire compatibility, and an aggressive off-road stance. This article will provide a comprehensive guide to understanding, choosing, and installing a lift kit on your 2003 Jeep Liberty, covering everything from the benefits to potential challenges.
Why Lift Your 2003 Jeep Liberty?
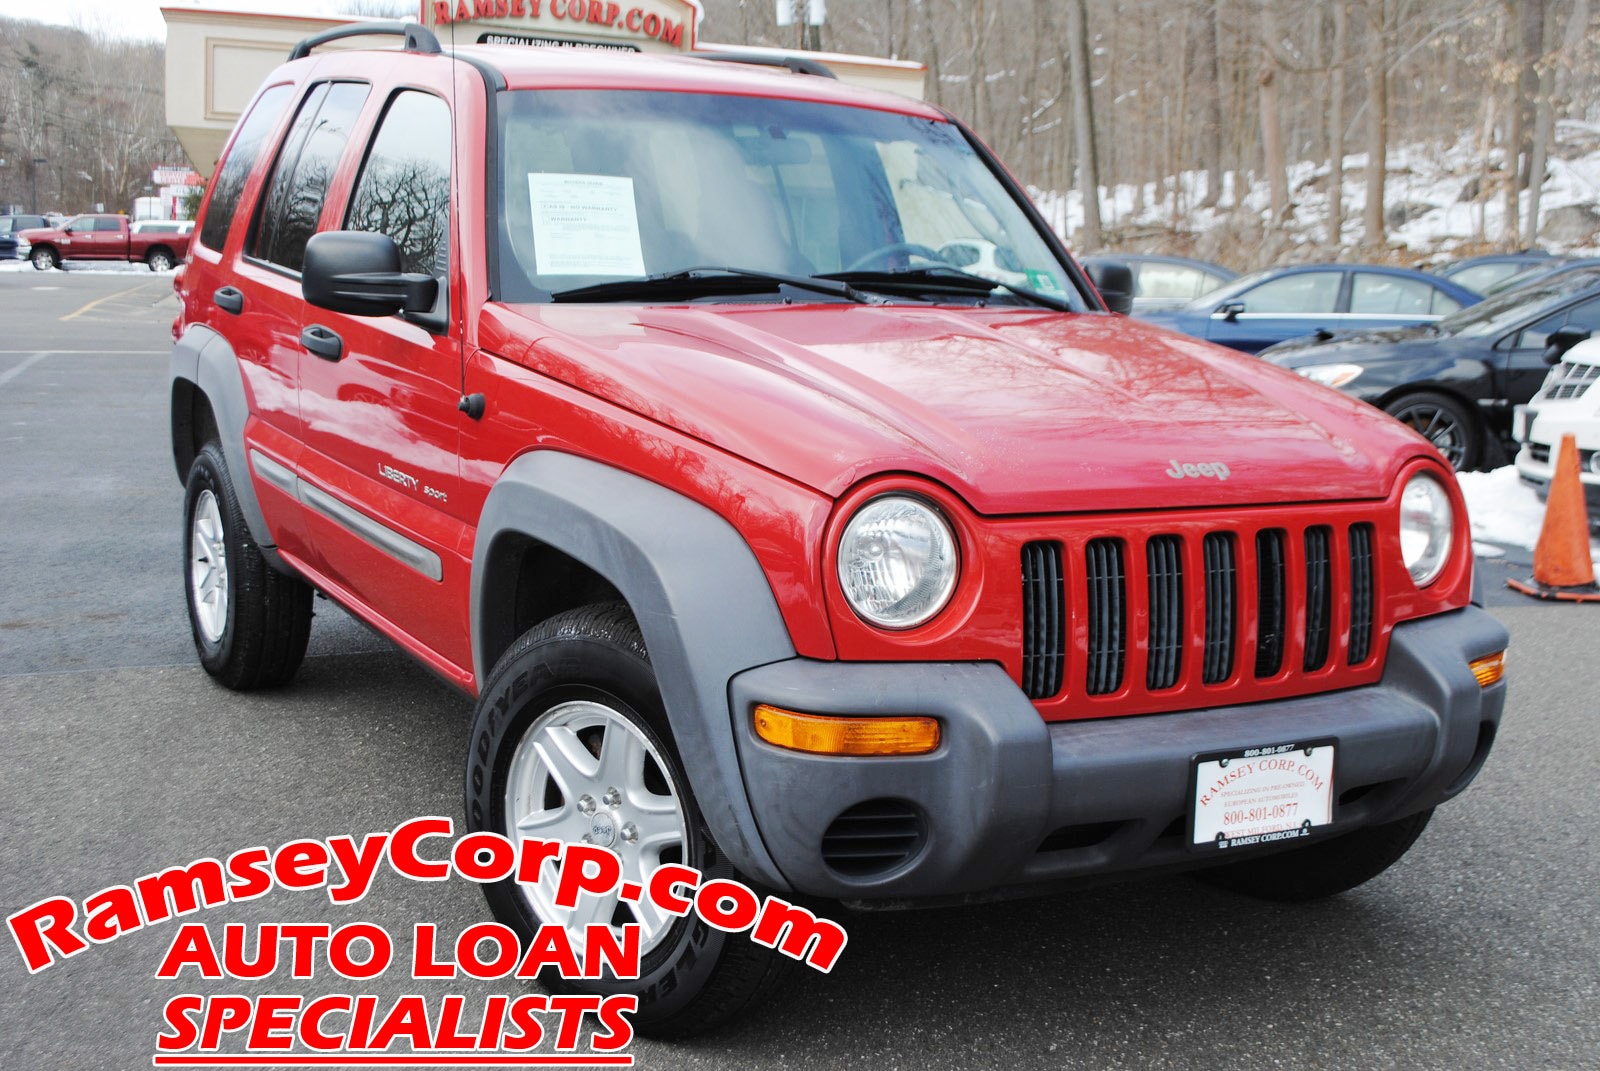
Unleash Your 2003 Jeep Liberty: A Comprehensive Guide to Lift Kits
Lifting your 2003 Jeep Liberty offers a multitude of benefits:
- Increased Ground Clearance: This is the most significant advantage. More ground clearance allows you to navigate obstacles like rocks, logs, and deep ruts with greater ease, minimizing the risk of undercarriage damage.
- Larger Tire Compatibility: A lift kit creates space for larger, more aggressive tires. Larger tires not only look great but also improve traction and further enhance off-road performance.
- Improved Approach, Departure, and Breakover Angles: These angles determine the vehicle's ability to climb over obstacles. A lift kit increases these angles, allowing you to tackle steeper inclines and more challenging terrain.
- Enhanced Aesthetics: Let's be honest, a lifted Jeep simply looks better. The increased ride height and larger tires give the Liberty a more commanding and rugged appearance.
- Customization: Lifting your Liberty opens the door to further modifications, allowing you to personalize your vehicle to your specific needs and preferences.

Understanding Different Types of Lift Kits for the 2003 Jeep Liberty
Several types of lift kits are available for the 2003 Jeep Liberty, each with its own advantages and disadvantages. Understanding the differences is crucial for choosing the right kit for your needs and budget.
-
Budget Boost (Spacer Lift): This is the most affordable and straightforward option. It typically involves installing coil spring spacers above the existing springs and possibly longer rear shackles. Budget boosts provide a modest lift (usually 1.5-2 inches) and are primarily for aesthetics and fitting slightly larger tires.
- Pros: Inexpensive, easy to install, maintains factory ride quality.
- Cons: Doesn't improve suspension performance, can lead to premature wear on factory components if taken to the extreme, limited lift height.
-
Coil Spring Lift: This type of kit replaces the factory coil springs with taller, heavier-duty springs. This provides a more significant lift (typically 2-4 inches) and improves suspension performance. Some coil spring lifts also include new shocks.
- Pros: Improves suspension performance, greater lift height than budget boosts, better off-road capability.
- Cons: More expensive than budget boosts, installation can be more complex, may require additional modifications.
-
Complete Suspension Lift Kit: This is the most comprehensive and expensive option. It replaces nearly all of the suspension components, including coil springs, shocks, control arms, sway bar links, and sometimes even the driveshaft. Complete suspension lifts offer the most significant lift (typically 3-5 inches or more) and provide the best possible on- and off-road performance.
- Pros: Maximum lift height, significantly improved suspension performance, superior off-road capability, often includes upgraded components for increased durability.
- Cons: Most expensive option, most complex installation, may require professional installation, can significantly alter the vehicle's handling characteristics.

Choosing the Right Lift Kit for Your Needs
The best lift kit for your 2003 Jeep Liberty depends on several factors, including your budget, intended use, and mechanical skill level.
- Budget: Budget boosts are the most affordable option, while complete suspension lifts are the most expensive.
- Intended Use: If you primarily drive on the street and only occasionally venture off-road, a budget boost or coil spring lift may be sufficient. If you plan to tackle challenging trails regularly, a complete suspension lift is recommended.
- Mechanical Skill Level: Budget boosts are relatively easy to install, while complete suspension lifts require more advanced mechanical skills and specialized tools. If you're not comfortable working on your vehicle, it's best to have a professional install the lift kit.
Important Considerations Before Installing a Lift Kit
Before you purchase and install a lift kit on your 2003 Jeep Liberty, consider the following:
- Tire Size: Determine the maximum tire size you want to run. This will help you choose the appropriate lift height. Larger tires may require additional modifications, such as trimming the fenders or installing wheel spacers.
- Wheel Backspacing: Wheel backspacing affects how far the wheels stick out from the vehicle. If you're running larger tires, you may need wheels with different backspacing to prevent rubbing.
- Driveshaft Angle: Lifting your Liberty can alter the driveshaft angle, which can lead to vibrations. You may need to install a transfer case drop kit or a double-cardan driveshaft to correct the angle.
- Brake Lines: Lifting your Liberty can stretch the brake lines. You may need to install longer brake lines to ensure adequate braking performance.
- Alignment: After installing a lift kit, it's essential to have your vehicle aligned. This will ensure proper handling and prevent premature tire wear.
- Legality: Check your local laws and regulations regarding vehicle lift heights. Some areas have restrictions on how high you can lift your vehicle.
A Step-by-Step Guide to Installing a Basic Coil Spring Lift Kit (General Overview)
Disclaimer: This is a general overview, and specific instructions may vary depending on the lift kit you choose. Always refer to the manufacturer's instructions for detailed guidance.
Tools Needed:
- Jack and jack stands
- Wheel chocks
- Socket set and wrenches
- Torque wrench
- Coil spring compressor (for some kits)
- Hammer
- Penetrating oil
- Safety glasses
- Gloves
Steps:
- Preparation: Park the vehicle on a level surface, engage the parking brake, and chock the rear wheels.
- Loosen Lug Nuts: Loosen the lug nuts on the front wheels.
- Raise and Support: Raise the front of the vehicle with a jack and support it with jack stands placed under the frame.
- Remove Wheels: Remove the front wheels.
- Disconnect Sway Bar Links: Disconnect the sway bar links from the lower control arms.
- Disconnect Shocks: Disconnect the shocks from the lower control arms.
- Disconnect Brake Lines and ABS Wires (Carefully): Disconnect any brake lines or ABS wires that may be attached to the suspension components. Be careful not to damage these lines.
- Compress Coil Springs (If Necessary): If required by your kit, use a coil spring compressor to compress the coil springs.
- Remove Old Coil Springs: Remove the old coil springs.
- Install New Coil Springs: Install the new coil springs.
- Install New Shocks (If Included): Install the new shocks.
- Reconnect Everything: Reconnect the sway bar links, brake lines, and ABS wires.
- Reinstall Wheels: Reinstall the front wheels and tighten the lug nuts.
- Lower Vehicle: Lower the vehicle to the ground and torque the lug nuts to the manufacturer's specifications.
- Repeat for Rear: Repeat the process for the rear suspension.
- Alignment: Take your vehicle to a qualified alignment shop to have it aligned.
Potential Challenges and Solutions
- Rusty Bolts: Rusty bolts can be difficult to remove. Use penetrating oil and allow it to soak for several hours before attempting to remove the bolts.
- Stuck Ball Joints: Ball joints can be difficult to separate. Use a ball joint separator tool or a pickle fork.
- Driveshaft Vibrations: Lifting your Liberty can cause driveshaft vibrations. Install a transfer case drop kit or a double-cardan driveshaft to correct the angle.
- Brake Line Length: Lifting your Liberty can stretch the brake lines. Install longer brake lines to ensure adequate braking performance.
Tips for a Successful Lift Kit Installation
- Read the Instructions Carefully: Before you start, read the manufacturer's instructions thoroughly.
- Gather All the Necessary Tools: Make sure you have all the necessary tools before you begin.
- Work Safely: Wear safety glasses and gloves to protect yourself from injury.
- Take Your Time: Don't rush the installation process.
- Ask for Help: If you're not comfortable working on your vehicle, ask a friend or a professional for help.
- Double-Check Your Work: After you've finished, double-check all of your work to make sure everything is properly installed.
Concluding Summary
Installing a lift kit on your 2003 Jeep Liberty can significantly enhance its off-road capabilities and give it a more aggressive look. By understanding the different types of lift kits available, considering your needs and budget, and following the installation instructions carefully, you can successfully lift your Liberty and enjoy its enhanced performance for years to come. Remember to prioritize safety and, if you're unsure about any aspect of the installation, seek professional assistance.
Price Table: 2003 Jeep Liberty Lift Kits (Approximate)
| Lift Kit Type | Lift Height (Inches) | Estimated Price Range | Key Features | Considerations |
|---|---|---|---|---|
| Budget Boost | 1.5 - 2 | $100 - $300 | Coil spring spacers, easy installation | Limited lift height, doesn't improve suspension performance |
| Coil Spring Lift | 2 - 4 | $300 - $800 | New coil springs, improved suspension performance | More expensive than budget boost, may require additional modifications |
| Complete Suspension Lift | 3 - 5+ | $800 - $2500+ | New coil springs, shocks, control arms, sway bar links, maximum performance gains | Most expensive, complex installation, may require professional installation |
Note: Prices are approximate and can vary depending on the brand, retailer, and specific features of the kit. Prices do not include labor costs.
Frequently Asked Questions (FAQ)
Q: How much does it cost to install a lift kit on a 2003 Jeep Liberty?
A: The cost of installation varies depending on the type of lift kit and the shop you choose. Expect to pay anywhere from $300 to $1000+ for professional installation.
Q: Will a lift kit void my warranty?
A: A lift kit may void the warranty on parts directly affected by the modification. However, it shouldn't void the warranty on other parts of your vehicle.
Q: Do I need to re-gear my axles after installing a lift kit?
A: Re-gearing may be necessary if you install significantly larger tires. Consult with a mechanic to determine if re-gearing is right for you.
Q: Can I install a lift kit myself?
A: It depends on your mechanical skill level. Budget boosts are relatively easy to install, while complete suspension lifts require more advanced skills and tools.
Q: What size tires can I fit after installing a lift kit?
A: The maximum tire size depends on the lift height and wheel backspacing. Consult with a tire shop or online resources to determine the appropriate tire size for your specific setup.
Q: Will a lift kit affect my fuel economy?
A: Yes, a lift kit can negatively affect your fuel economy due to increased ride height, larger tires, and increased weight.
By carefully considering these factors and following the advice in this guide, you can confidently choose and install the perfect lift kit to transform your 2003 Jeep Liberty into a capable and stylish off-road machine. Happy trails!